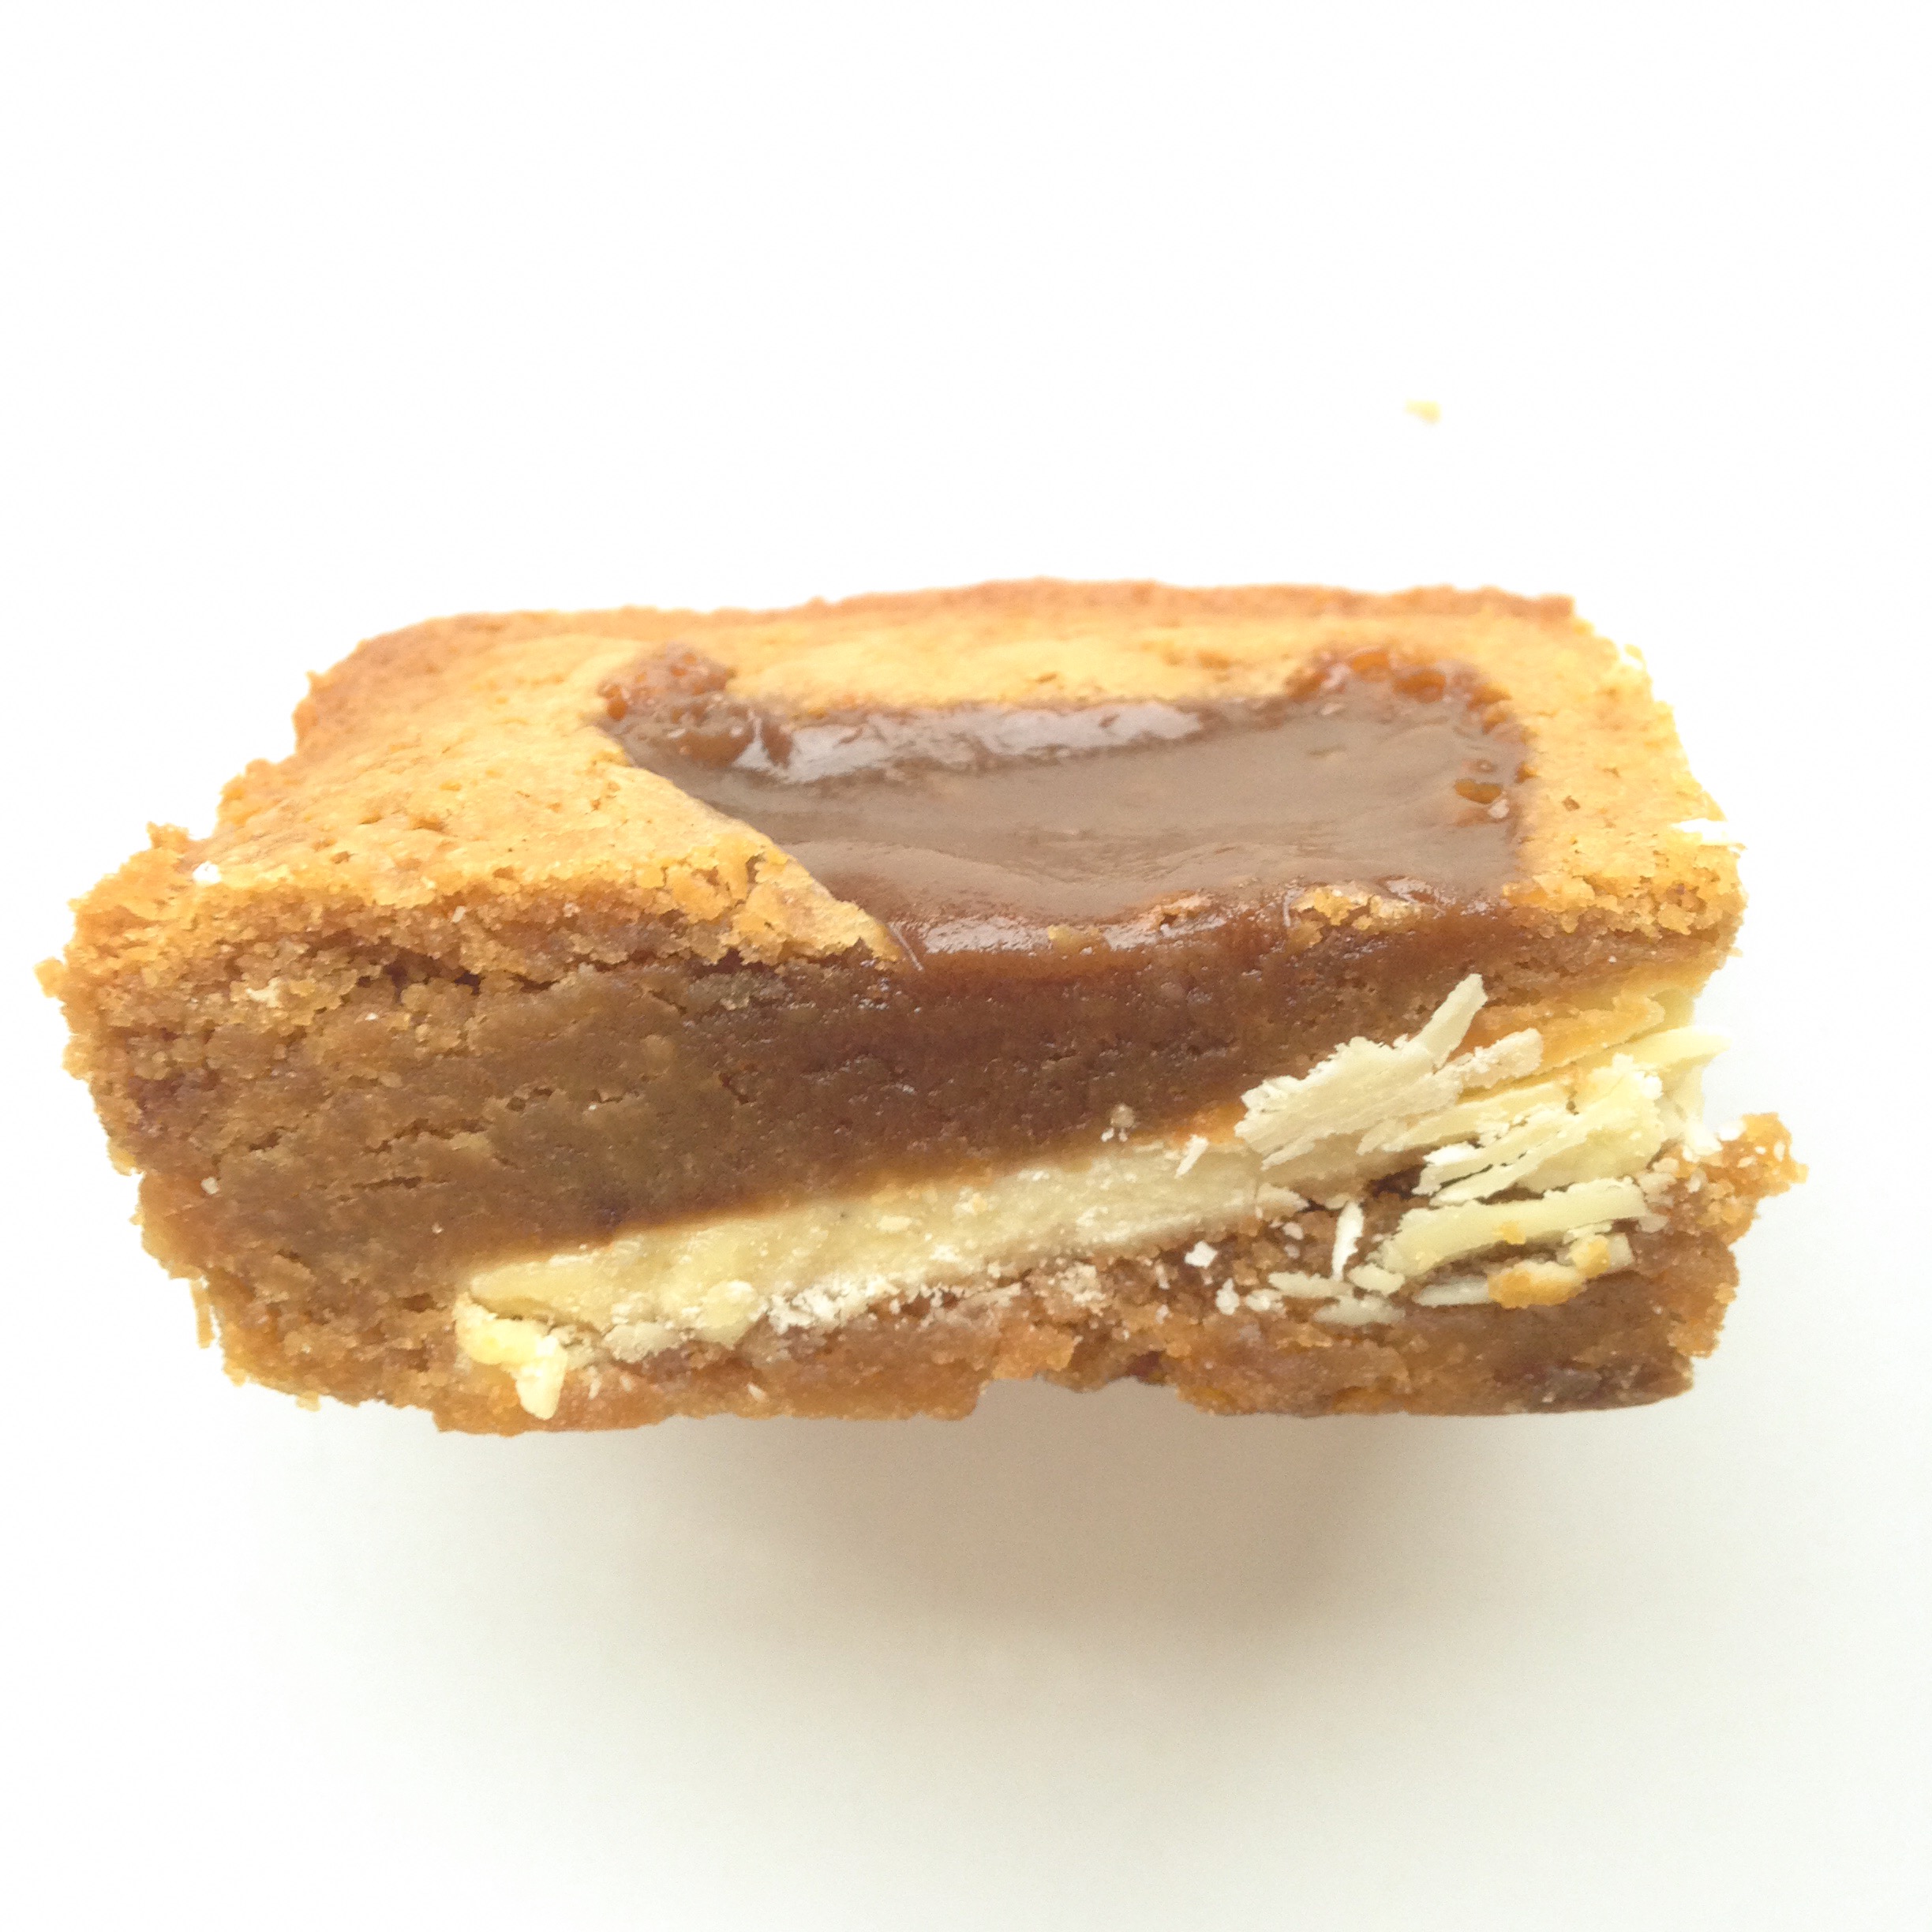
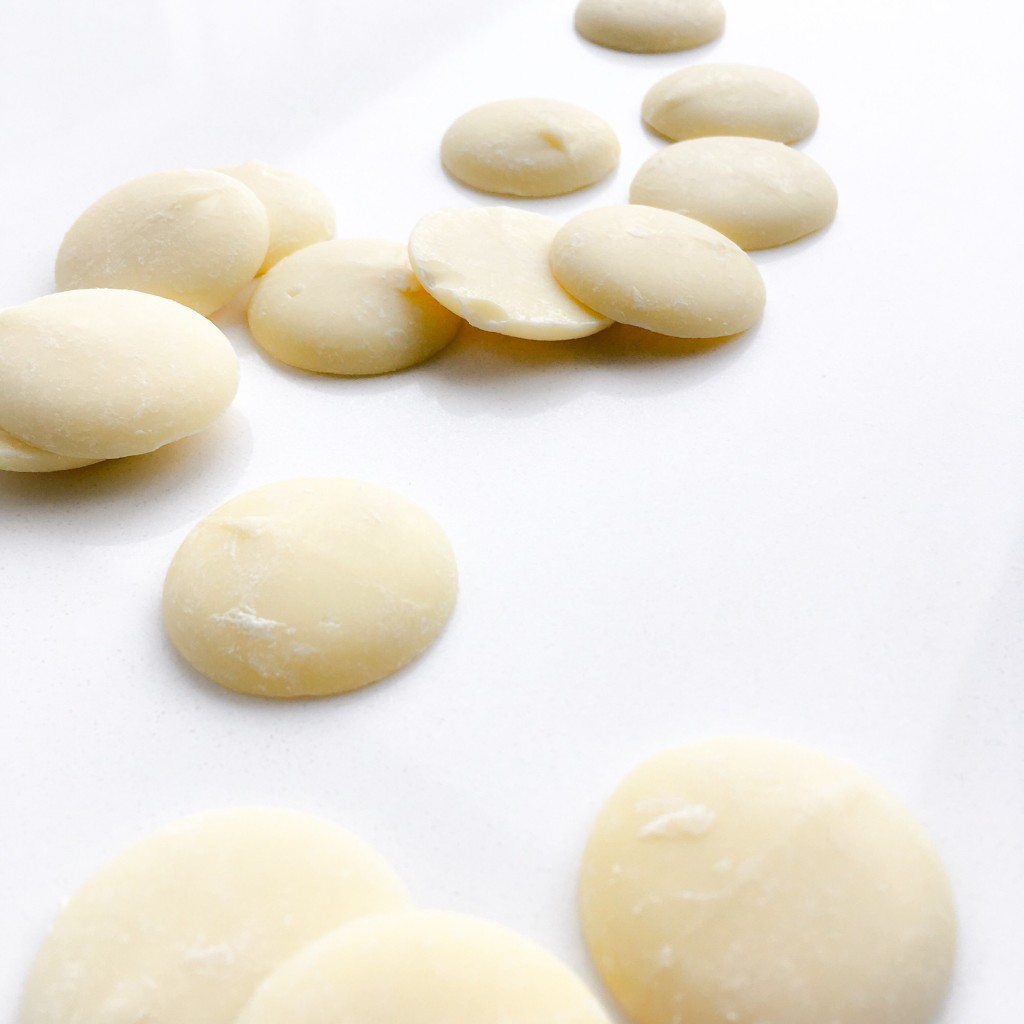
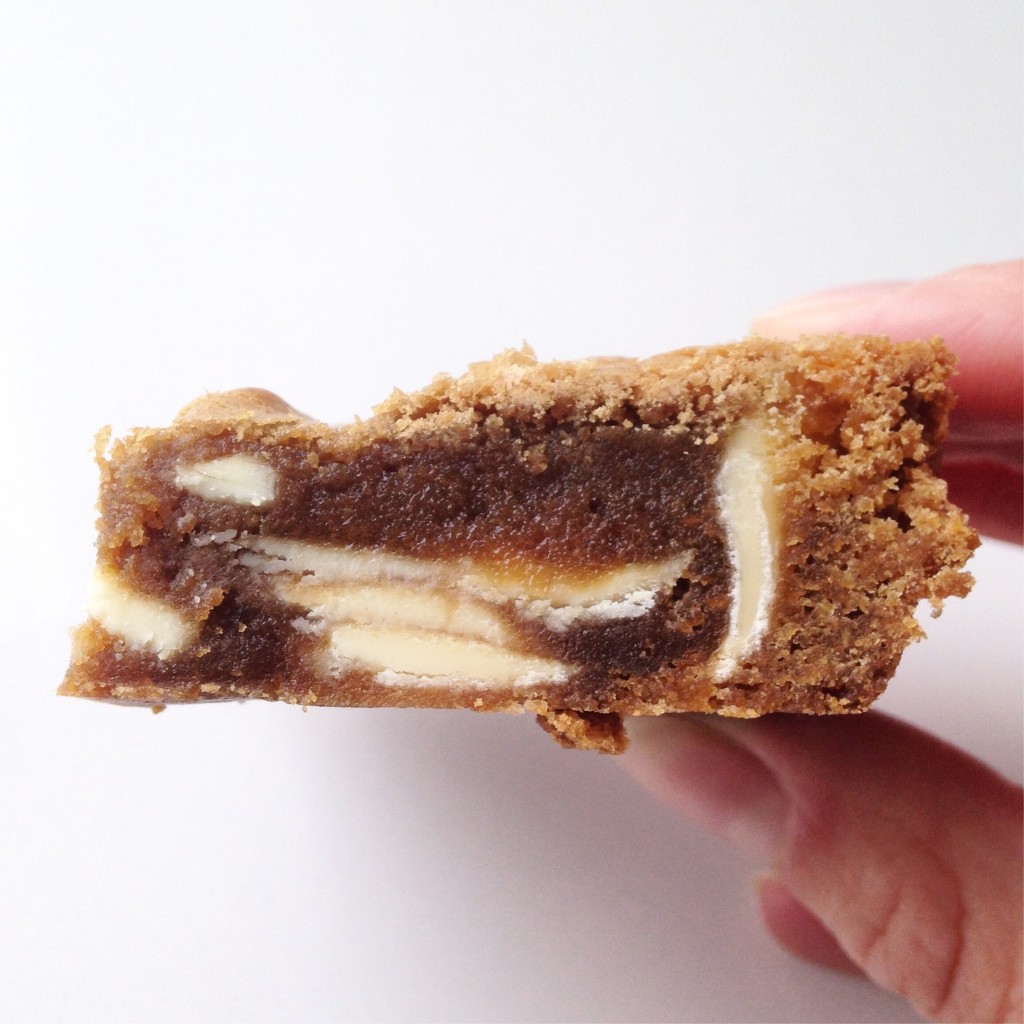
So you may think that a Blondie is just a white chocolate brownie (minus dark chocolate or cocoa powder). I actually found it trickier to produce a good recipe for a Blondie then I did for my Brownie. The simplest way to describe a Blondie is that it is little more than a vanilla sponge cake with white chocolate chunks and so the first time I baked one I was a little disappointed. I stupidly assumed that I would achieve the same, velvet dense texture that I have with my Brownie. I had to start from scratch and the resulting Blondie had to be dense, caramelly, delicately chewy and satisfyingly dense. Here’s what I do. Of course you can tweak this recipe to suit you. I use a single origin white chocolate from the Dominican Republic for my blondies but as long as use a good quality white chocolate and avoid white chocolate chips for baking then all will be fine. So if you’d rather use white caster sugar, or add vanilla or leave out the salt then feel free. You can also switch the plain wheat flour for a gluten free one.
Preheat oven to 170’C fan. Grease and line a 2lb loaf tin. Place 50g chopped white chocolate,105g unsalted butter, 80g dark Muscovado sugar and 80g soft light brown sugar in a bowl placed over a pan of gently simmering water. Stir until melted. Remove from heat and add 130g plain flour, 1/2 tsp of sea salt and 1 large egg and whisk. It will look split at first, just keep whisking and it will come together to form a smooth toffee coloured Blondie batter.
Add 80g of choppedwhitechocolate and fold through batter. Pour into loaf tin and smooth over. Place onto a baking tray on the middle shelf of oven and bake for 25minutes. Check your Blondie, the centre should have a slight wobble, if very wobbly put back into the oven for a few minutes until it has firmed a little. Leave in loaf tin until cool. Cut into 8 or 10 pieces. Now enjoy.
Well it’s been a while since I last wrote one of these, but I am bursting to share something. I did something this week which I had thought I would never do and now I am so pleased that I have! I purchased a new toy and some cocoa beans and set to work. I had to work a little creatively but I am amazed that my first attempt produced something that I am very pleased with. You’ll not find ‘Bean to Brownies’ on my website yet, but email me and I will make them for you!
At first, I had dismissed the whole idea of making chocolate from beans for brownies as a bit of a faff. But after speaking to a chocolatier friend of mine I was inspired to give it a go. I already knew the basics, you get some beans, roast them, shell them, nib them and finally grind them. So I bought a grinder (commonly known as a conche to those in the chocolate trade), some Grenadan cocoa beans, and some deodorised cocoa butter to help the process along. I armed myself with some other pretty rudimentary equipment, a chopping board, a wine bottle, and a hairdryer. Probably not what you were expecting me to list but I’m sure I can refine the process along the way.
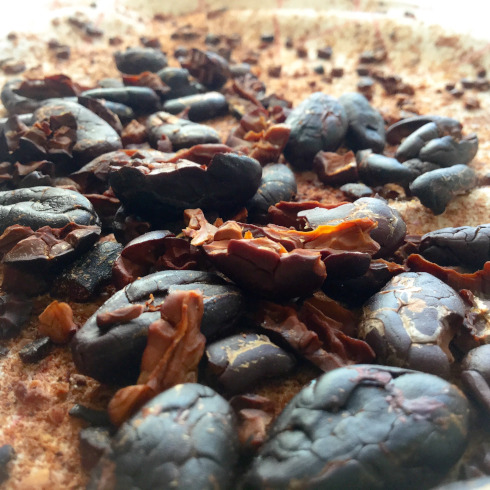
It’s a simple process, more time consuming and messy than anything else. For my first test I weighed 500g of cocoa beans. I preheated my fan oven to 130 C. Laid the beans in a single layer on a baking tray and placed them in the centre of the oven and roasted for 20 minutes, giving the tray a little shake half way through. At this stage I won’t understand how the temperature and time will affect the flavour of the beans, I just needed to make sure that they were clean enough from roasting at this stage.
I left the beans to cool overnight and was delighted when the shells began to gently crackle as they cooled and split, this also helps to make the shells easier to remove.
The next day I set to work removing the shells by hand, only 500g to shell but it took me well over an hour. This is where the chopping board came in handy. I used to to gently crack not crush a number of beans at a time. A gentle crack means you can remove the shell in fewer larger pieces and retrieve a whole bean. I’m sure there are more time effective ways of doing this but I was enjoying the hands on element to the process and the novelty.
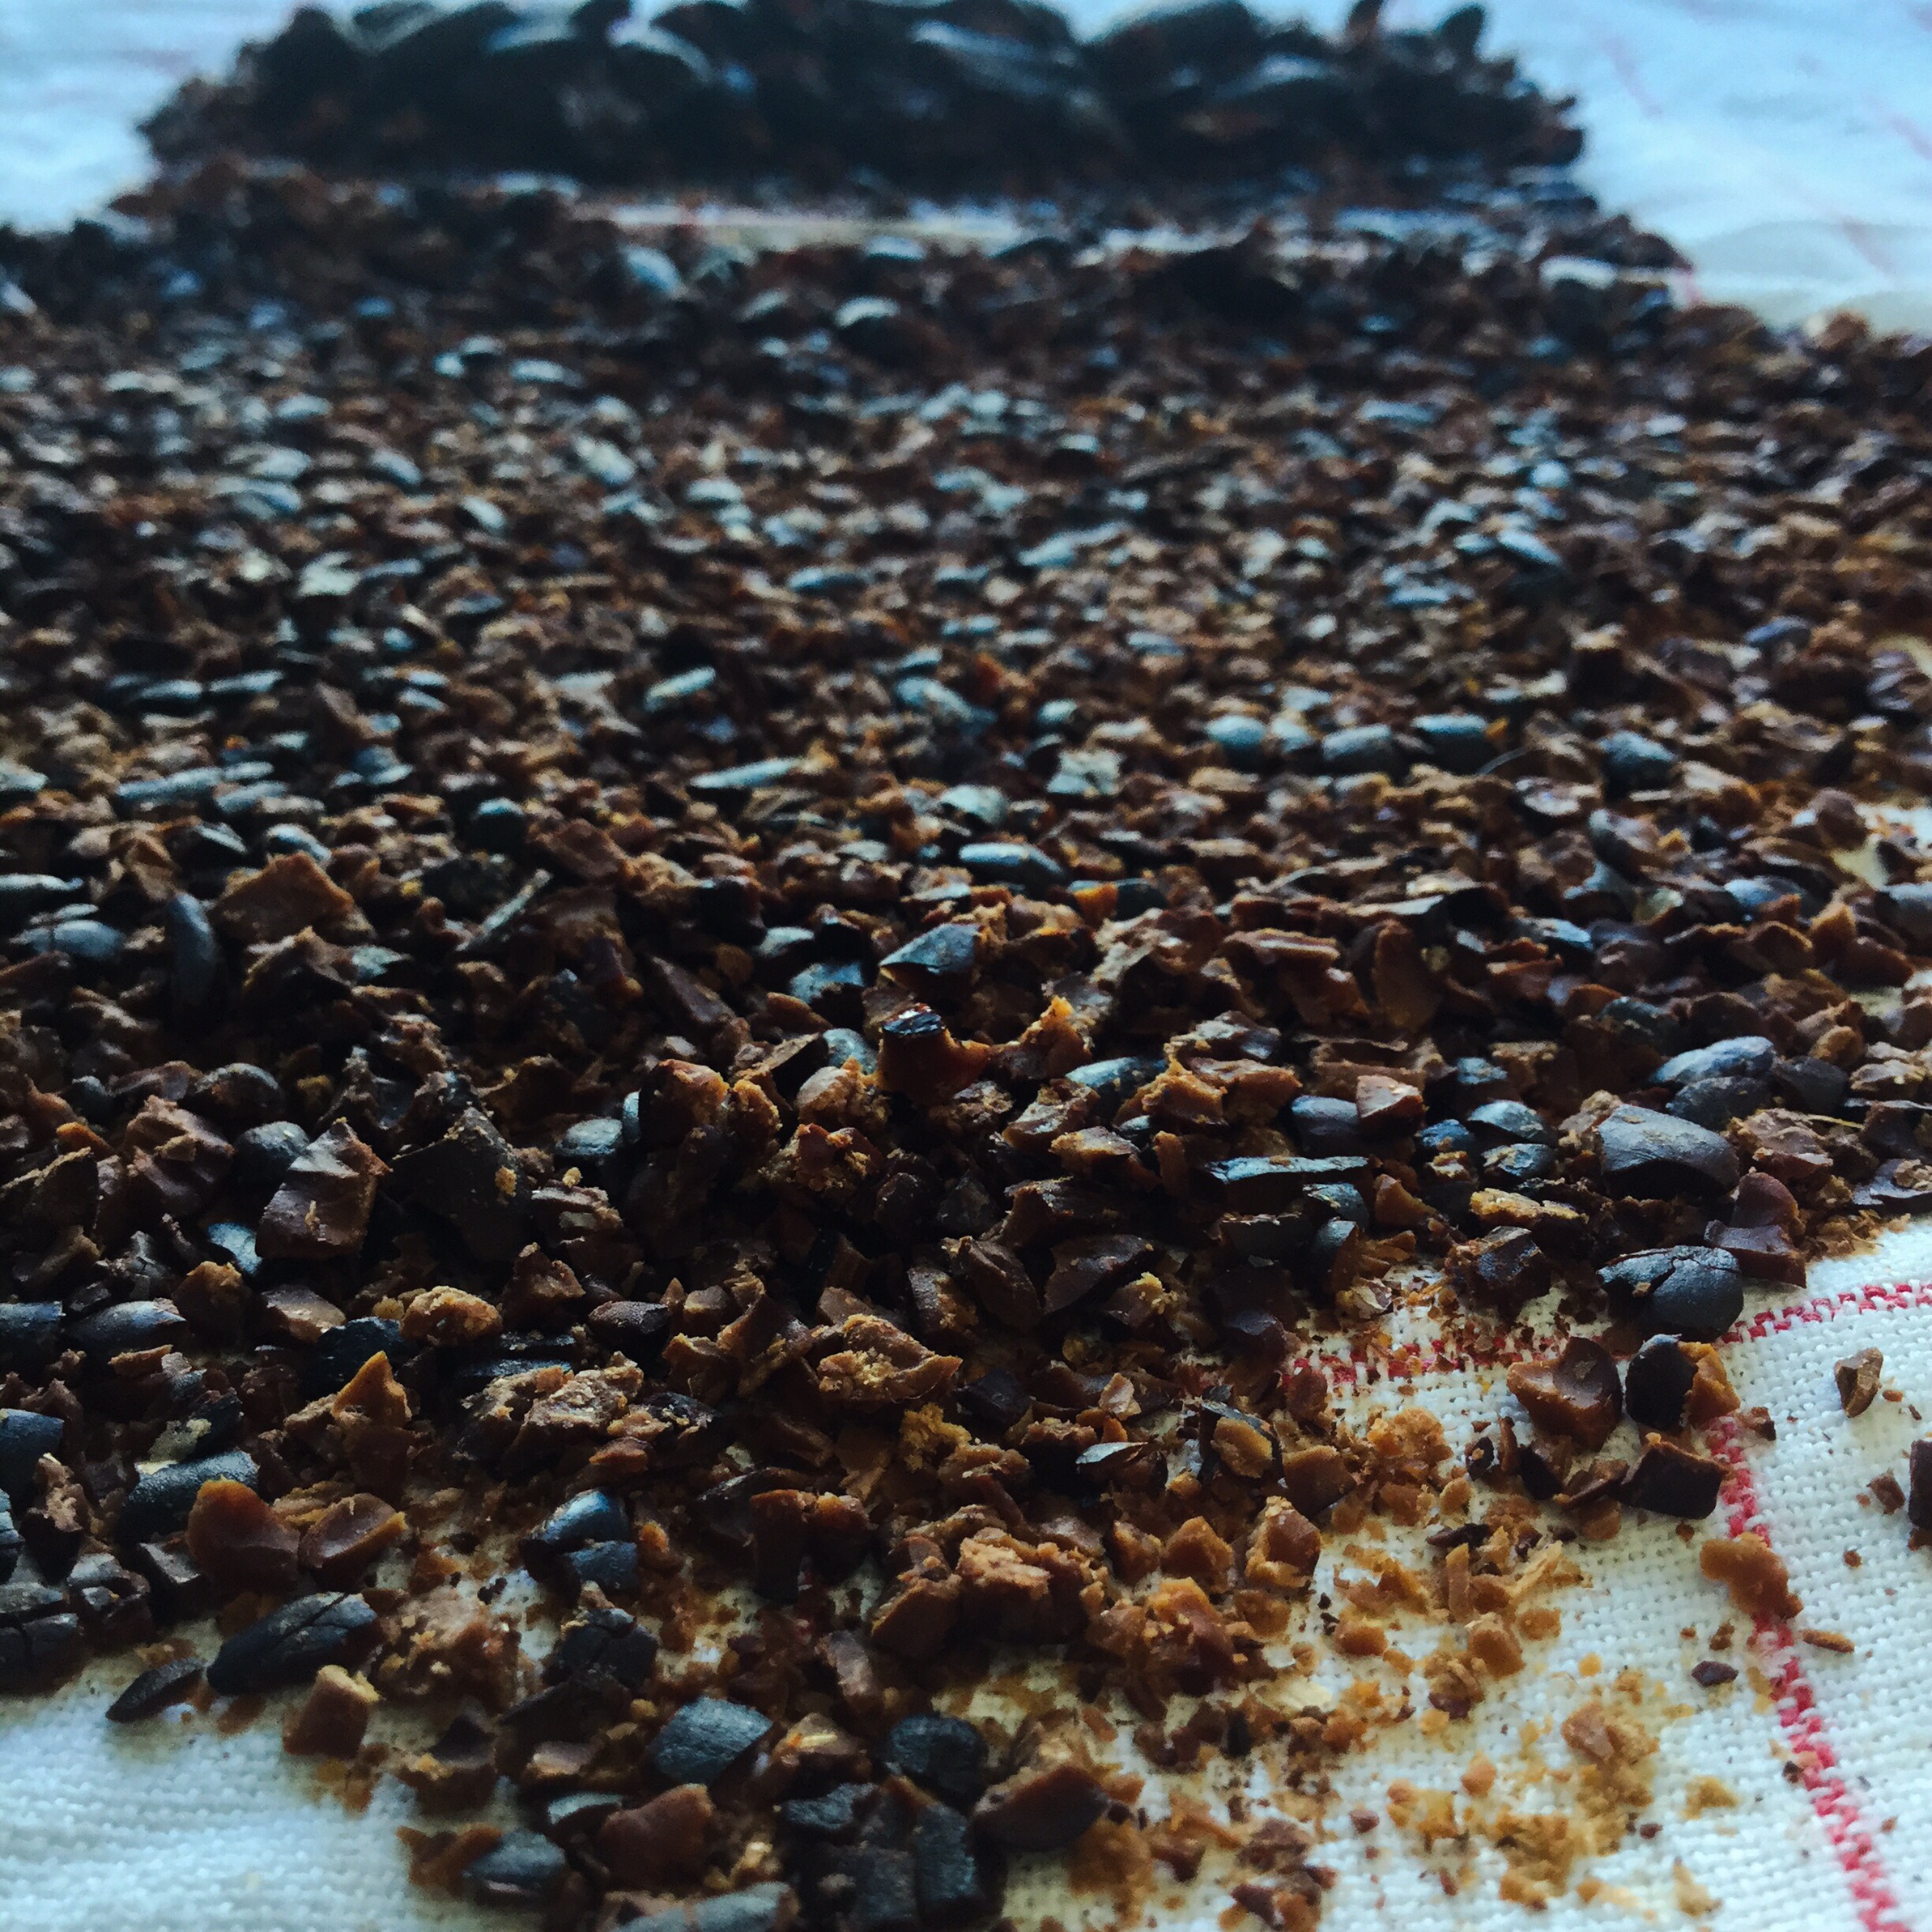
Once the beans and shells had been separated I took a large clean tea towel and laid it out on the work top. I placed a couple of hand fulls of shelled beans on the tea towel, folded the towel over and rolled the wine bottle over while applying as much pressure as I could. The beans broke relatively easily. I was aiming to reduce the size of the beans to nibs the size of fat grains of rice which, on the whole I managed. Beans were now nibs and ready to grind.
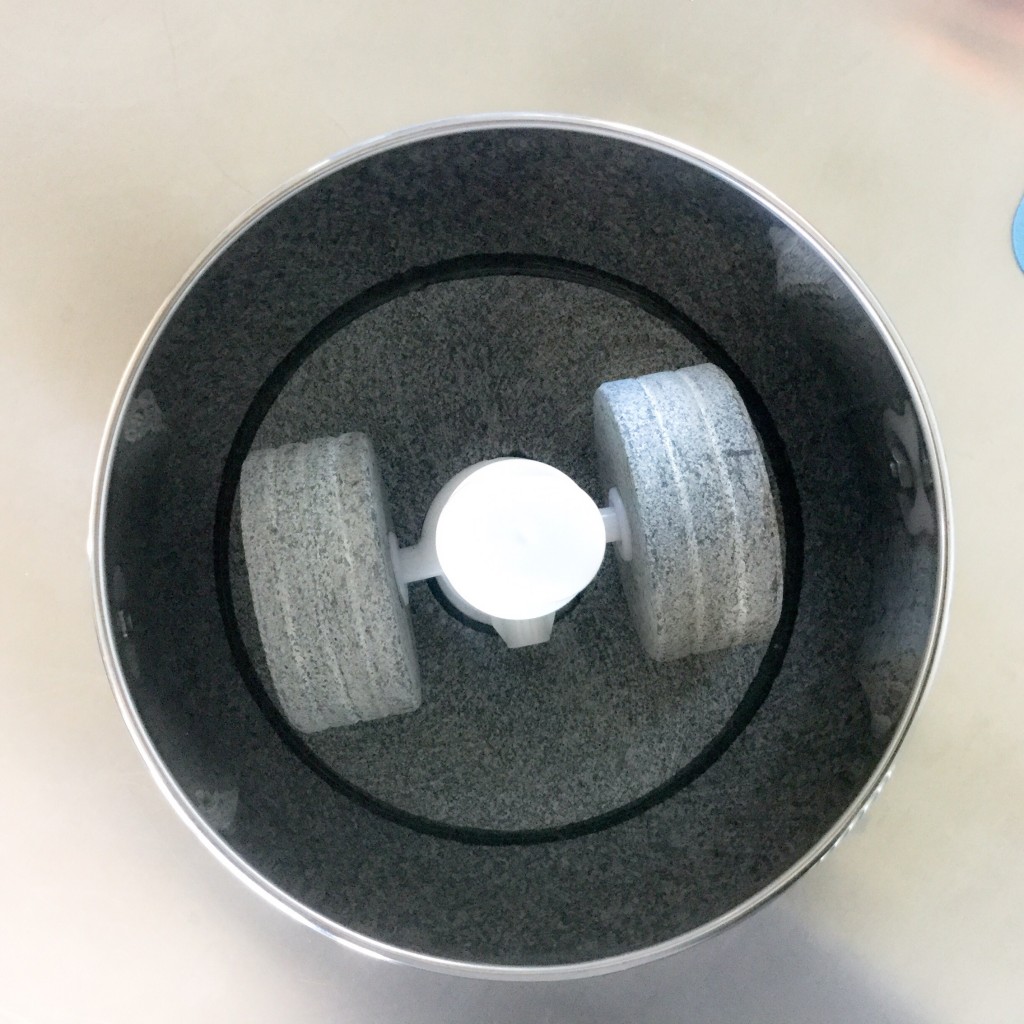
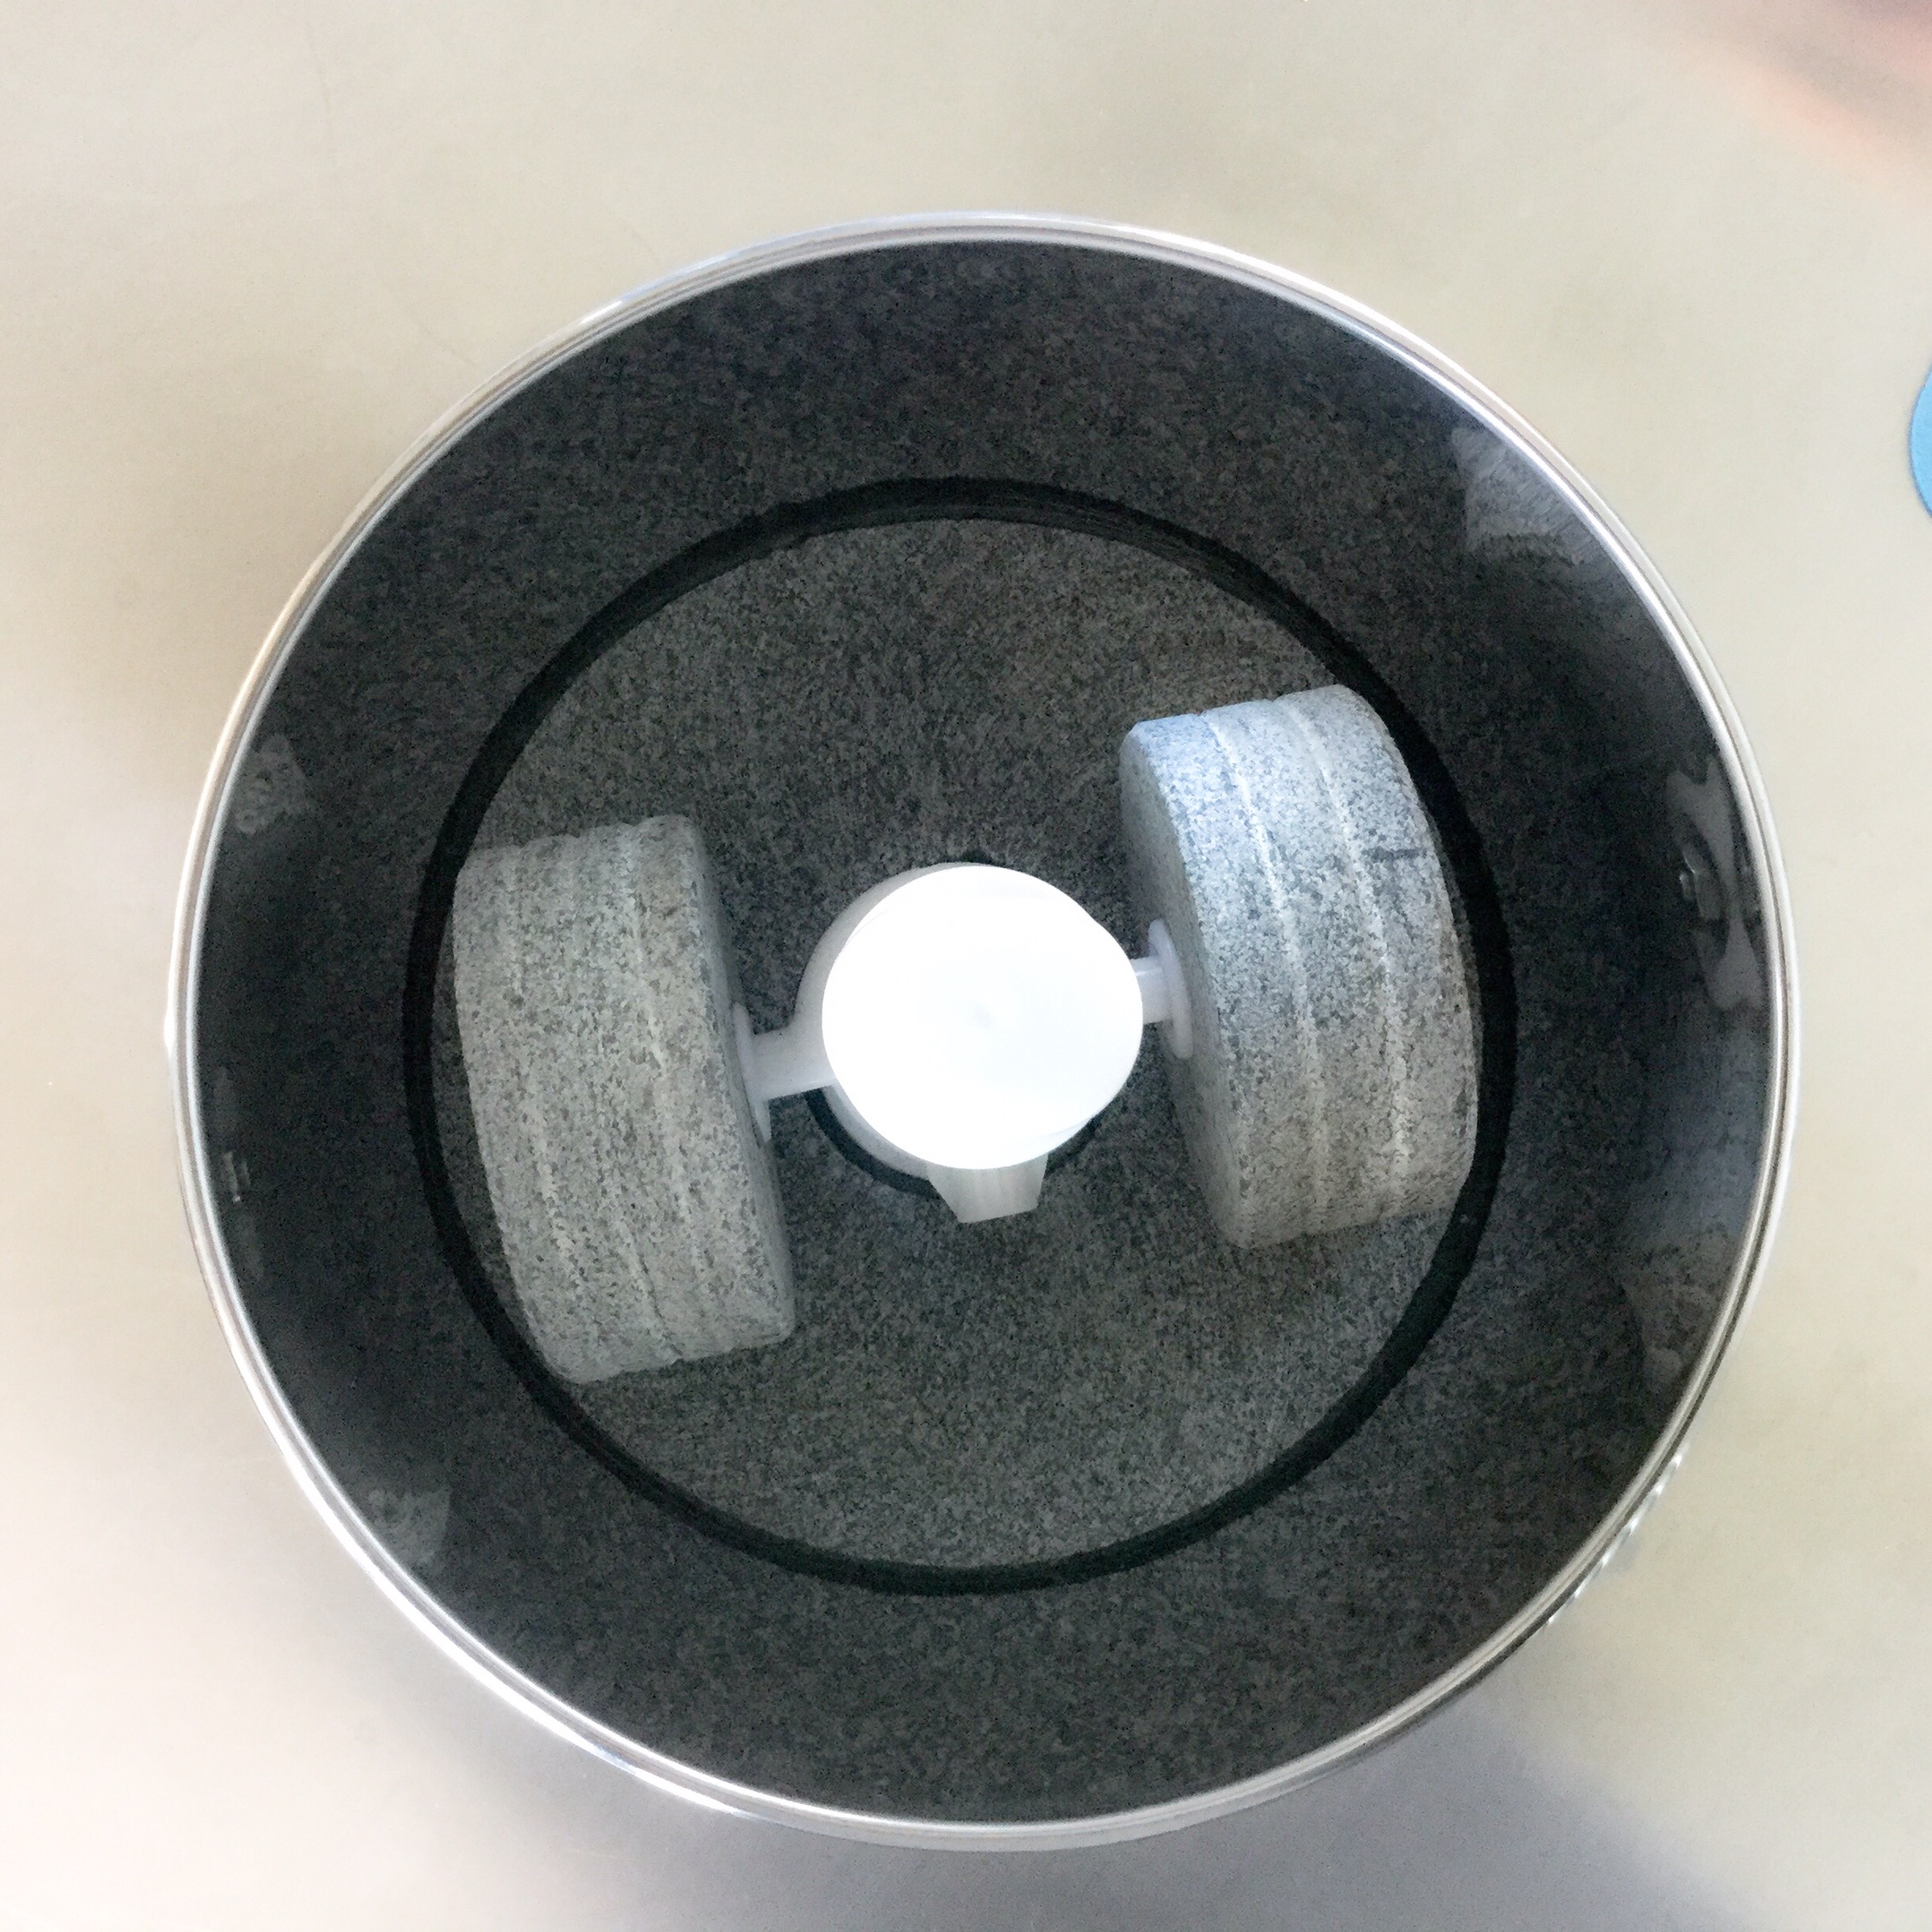
Now I have seen this done by others in the know many times before, but was also very aware for the same reason that the cocoa grinding equipment or conche can be quite a fragile bit of kit if not handled with respect. So a little nervously I set the grinder running with the stones set on the highest setting to allow for any bigger nibs passing under them and started to pour the nibs into the grinder and a little melted cocoa butter whilst blasting the outer metal drum, stones and nibs with the hair dryer. The heat helps the nibs to release cocoa butter and lubricate the process thereby reducing the strain on the stones as they grind. I think I was overly cautious but with good reason. I had to keep stopping to scrape down the sides as the nibs kept banking up due to being spun, so thought it would be advantageous at this stage to use the scraper that had been supplied, it made such a difference.
After about five hours I poured the cocoa liquor or mass into a container to let it cool and solidify, a bit like making a chocolate bar but without the need to temper as I am only going to use it for baking, simple!
I might return the mass to the conche/grinder and run for a little longer to reduce the particle size even further but probably only an extra hour or two. I didn’t mention previously but if you are conching and grinding cocoa for chocolate bars you will need to grind the chocolate until you have reduced the particle size of the cocoa to something that cannot be detected on the tongue. This can take upwards of eighteen hours on small scale equipment.
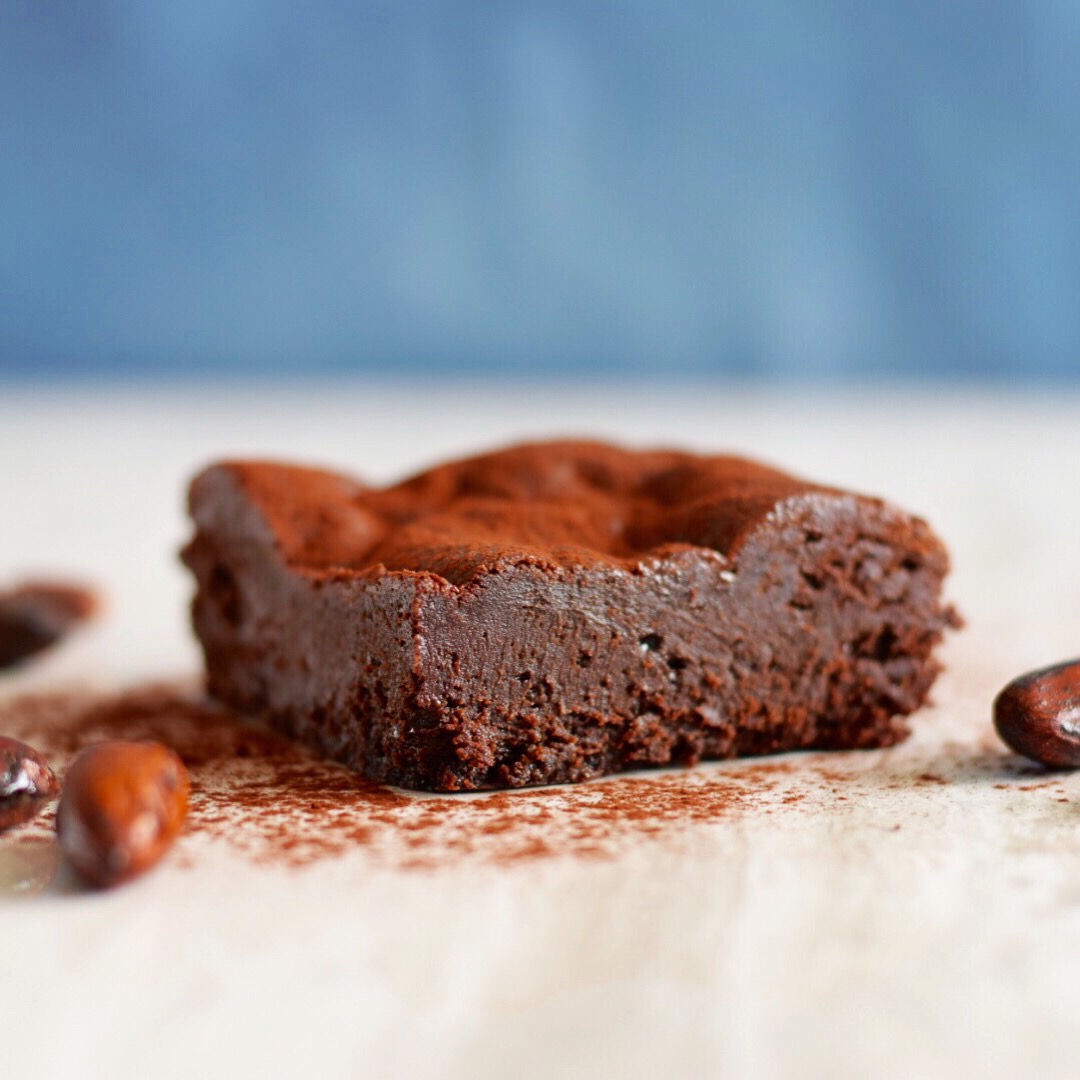
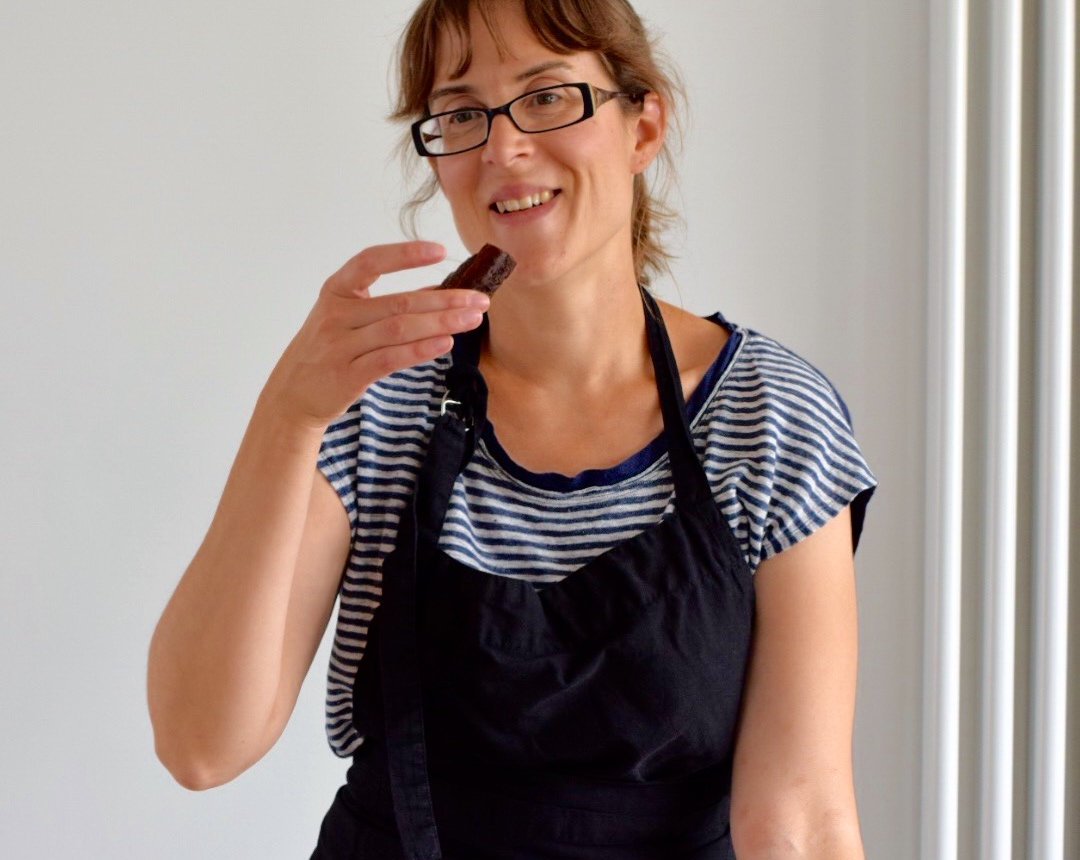
It was an exciting moment when i tipped the cooled lump of Grenadan cocoa mass from its container and hacked pieces off to melt into my brownies. I’m eating them as I type, the texture is unctious (is this spelt right) and the flavour is deep, slightly fruity, slightly earthy and very roasted. So there we have it, it must be a first, BEAN TO BROWNIES, I am very happy and feeling ever so slightly smug….
I’ve done it! My brownie shop is open for business. I’ve baked and photographed and wrapped and written, a brilliant challenge. It all began in October last year, it was quite late one night when I was taken by an urge to bake. I always keep a ‘mental’ list in my head of my next bake and that night it was the turn of the chocolate brownie. Strange that I should not have made one before now, I have certainly eaten plenty.
I consulted with Nigel, Nigella and Hugh, a trusted trio and selected a simple brownie recipe from each. I baked some brownies and they were good but there had to be more to it.
I have a science degree and having worked for a luxury chocolate brand for nearly six years in development, process and ingredient sourcing I knew a bit about chocolate and ingredients and understood the process of experimentation.
To test the recipe I started by tweaking a single element each time I baked thereby focusing on each key brownie attribute; chocolatiness, tenderness and sweetness. Each has to be right and there is a balance, reducing sugar too much can affect tenderness and moisture and increasing the cocoa too far can make for a tougher, dry eat so this became the focus of my experimentation, pushing up the cocoa content whilst retaining the tender brownie texture.
During the baking I used different chocolate and I noticed that the brownies tasted different. With that thought still in my head I baked with a single origin chocolate from Madagascar and was amazed by the intensity of flavour and the red berry notes, gentle acidity and the butteriness coming from the Madagascan chocolate. It was at this time that I realised what I wanted to do, bake amazing brownies with single origin chocolate and experiment with flavour.
I am a perfectionist and although I knew I had the beginnings of something the recipe was far from where I wanted it to be so I continued to bake and tweak and until at last I found brownie happiness. Everyone should have the opportunity to ‘eat better brownies’.

